
The Moment You Notice It Wasn't on the Inspection Report
You've been in the house two weeks, boxes still stacked against the garage wall, and you reach for the opener button out of habit. The door jerks up unevenly, one side rising faster than the other, then settles with a grinding noise you didn't hear during the walkthrough. Or maybe it's quieter than that: you just notice the door feels heavier than it should when you lift it by hand, or there's a thin line of daylight along the bottom that wasn't visible when the garage was staged and empty. None of this showed up on the inspection report, because most home inspections only confirm that a garage door opens and closes, not that it's actually safe or balanced.
Why the Standard Inspection Misses These
A general home inspector typically presses the opener, watches the door travel up and down once, and checks for obvious damage. That's useful, but it won't catch a spring that's one cycle away from failing, a safety sensor that's slightly misaligned, or a track that's been quietly rusting from years of dust settling into the grooves and baking there through dry Hemet summers. These are mechanical and safety checks, not cosmetic ones, and they take more than a single press of a button to find.
Your Walk-Through Checklist
Grab a flashlight and about twenty minutes, and go through these in your own garage before you assume everything's fine.
1. The Balance Test
Pull the manual release cord to disconnect the opener, then lift the door by hand to about waist height and let go. A properly balanced door stays put. If it drops on its own or shoots upward, the spring tension is off. This usually means a worn or improperly sized torsion spring, and it's not a DIY fix since the spring is under heavy tension.
2. Spring Condition and Age
Look at the torsion spring above the door for visible gaps between coils, rust, or flattened spots. Springs are rated for a certain number of open-close cycles, and if the previous owner used the garage daily for years, it may already be near the end of its life. Rust from humidity swings and dust can shorten that lifespan further.
3. Tracks and Rollers
Run a hand along the vertical and horizontal tracks, feeling for pitting or flaking rust, and watch the rollers as the door moves. Dust that settles into track grooves and dries out can cause grinding and binding over time. A bent track from a past bump will make the door jerk or stick at the same spot every time.
4. Cables and Pulleys
Check the cables near the bottom brackets for frayed strands. A fraying cable can snap without warning, and if the spring is already unbalanced, a sudden cable failure can let the door drop hard and fast.
5. Bottom Seal and Weatherstripping
Crouch down and check the rubber seal along the bottom edge for cracks or gaps. Dry seasons break this rubber down faster than people expect, and once winter rain arrives, a cracked seal lets water pool inside the garage instead of keeping it out.
6. Panel Condition
Look closely at panels facing west or south, where direct sun hits hardest. Warping, bubbling paint, or delamination is common on older doors that have taken years of inland heat. Also check the seams at each hinge for separation, which can cause the door to bind as it travels.
7. Auto-Reverse Safety Sensors
Close the door and place a roll of paper towels in its path. The door should reverse on contact. Then try closing it again while waving your hand through the photo-eye beam near the bottom of the track. If the door doesn't stop or reverse either time, the safety sensors are misaligned or failing, which is a real injury risk, especially with kids or pets around.
8. Opener Age and Condition
Check the label on the opener unit for its age, and listen to the motor while it runs. A whining or straining sound often points to a worn gear kit, which means the opener is getting close to needing replacement rather than repair.
9. Manual Release Mechanism
Test the red emergency release cord to make sure it actually disengages the door from the opener. This matters most during a power outage or move, when you need to open the door by hand.
10. Anchoring and Bracing
Look at the top corners of the door frame and the surrounding wall for any seismic reinforcement bracing or strapping, and check for cracks in the framing nearby. Older installations sometimes skip this reinforcement entirely, which matters more here than in many parts of the country.
When to Call Hemet Garage Door Pro
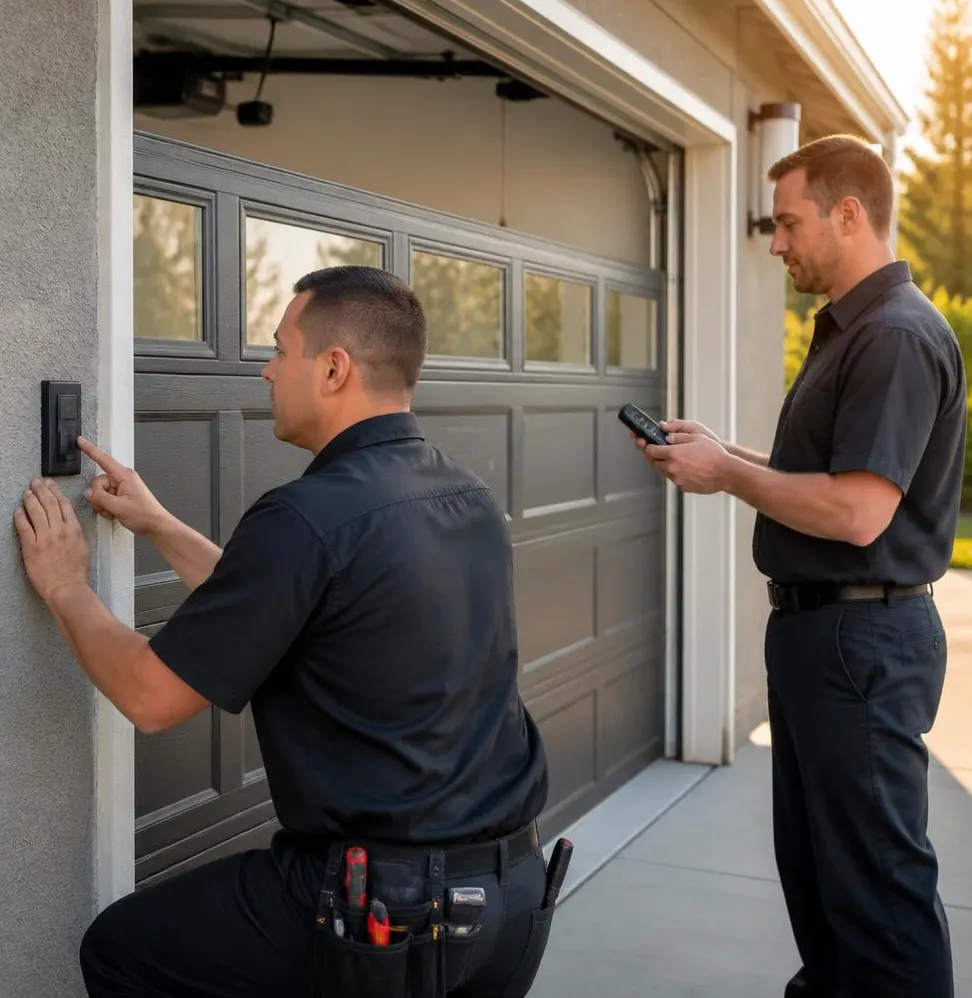
If the balance test fails, the springs look worn, or the auto-reverse sensors don't respond, those aren't weekend DIY projects. Hemet Garage Door Pro can run a full inspection, handle spring replacement safely with the right tools, and realign or replace safety sensors as part of a standard garage door maintenance visit. We'll also flag anything related to bracing or reinforcement so you know what you're working with before it becomes an emergency call.
If your new garage door didn't pass everything on this list, give Hemet Garage Door Pro a call. We serve homeowners throughout Hemet, San Jacinto, and the surrounding valley, and we'll walk your garage with you and tell you exactly what needs attention now versus what can wait.